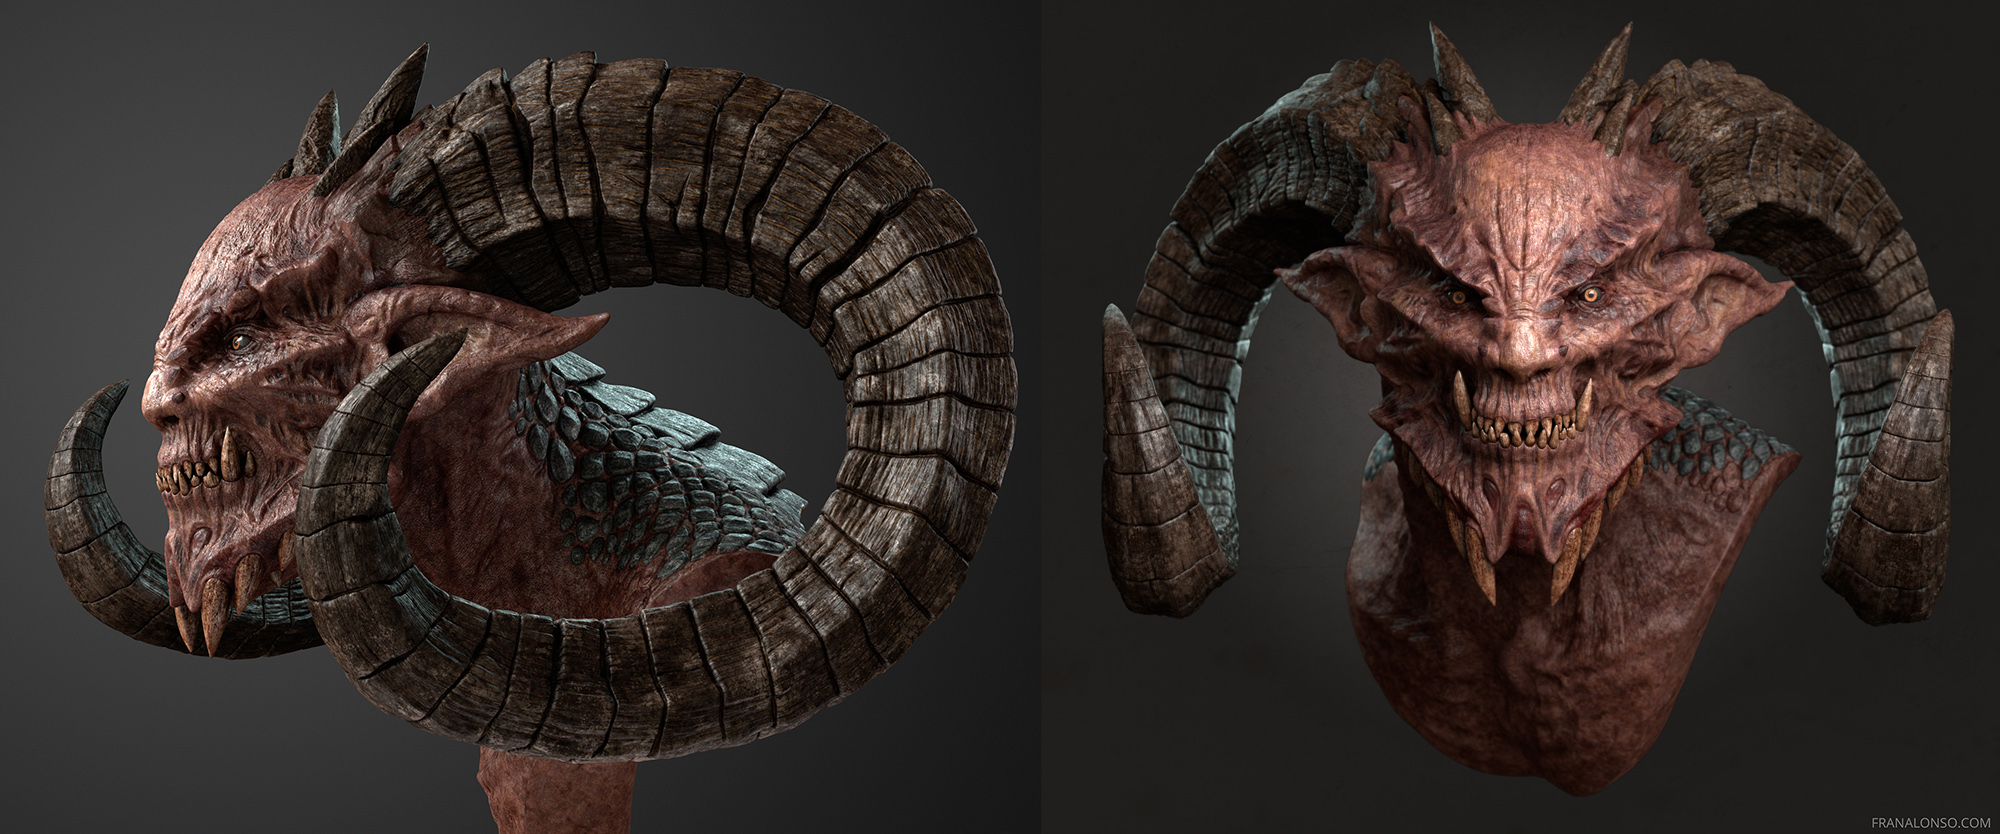
Demon Breakdown
Introduction
Original published on 3Dtotal webiste. When I think about new personal projects, I always try to set specific goals that allow me to explore new tools and face exciting challenges that broaden my skillset in specific areas. Since I have been working in video games for the last 5 years, the idea was to create a realistic creature head using a production workflow (UDIM, Arnold, and so on) instead of a real-time pipeline. In addition to that, I wanted to use the Geometry HD tool in ZBrush to add the extra fine detail: I was curious to see its potential and weigh up the pros and cons of this feature compared to the method I’ve been using before, by painting directly in Mari these extra details.
Gathering references
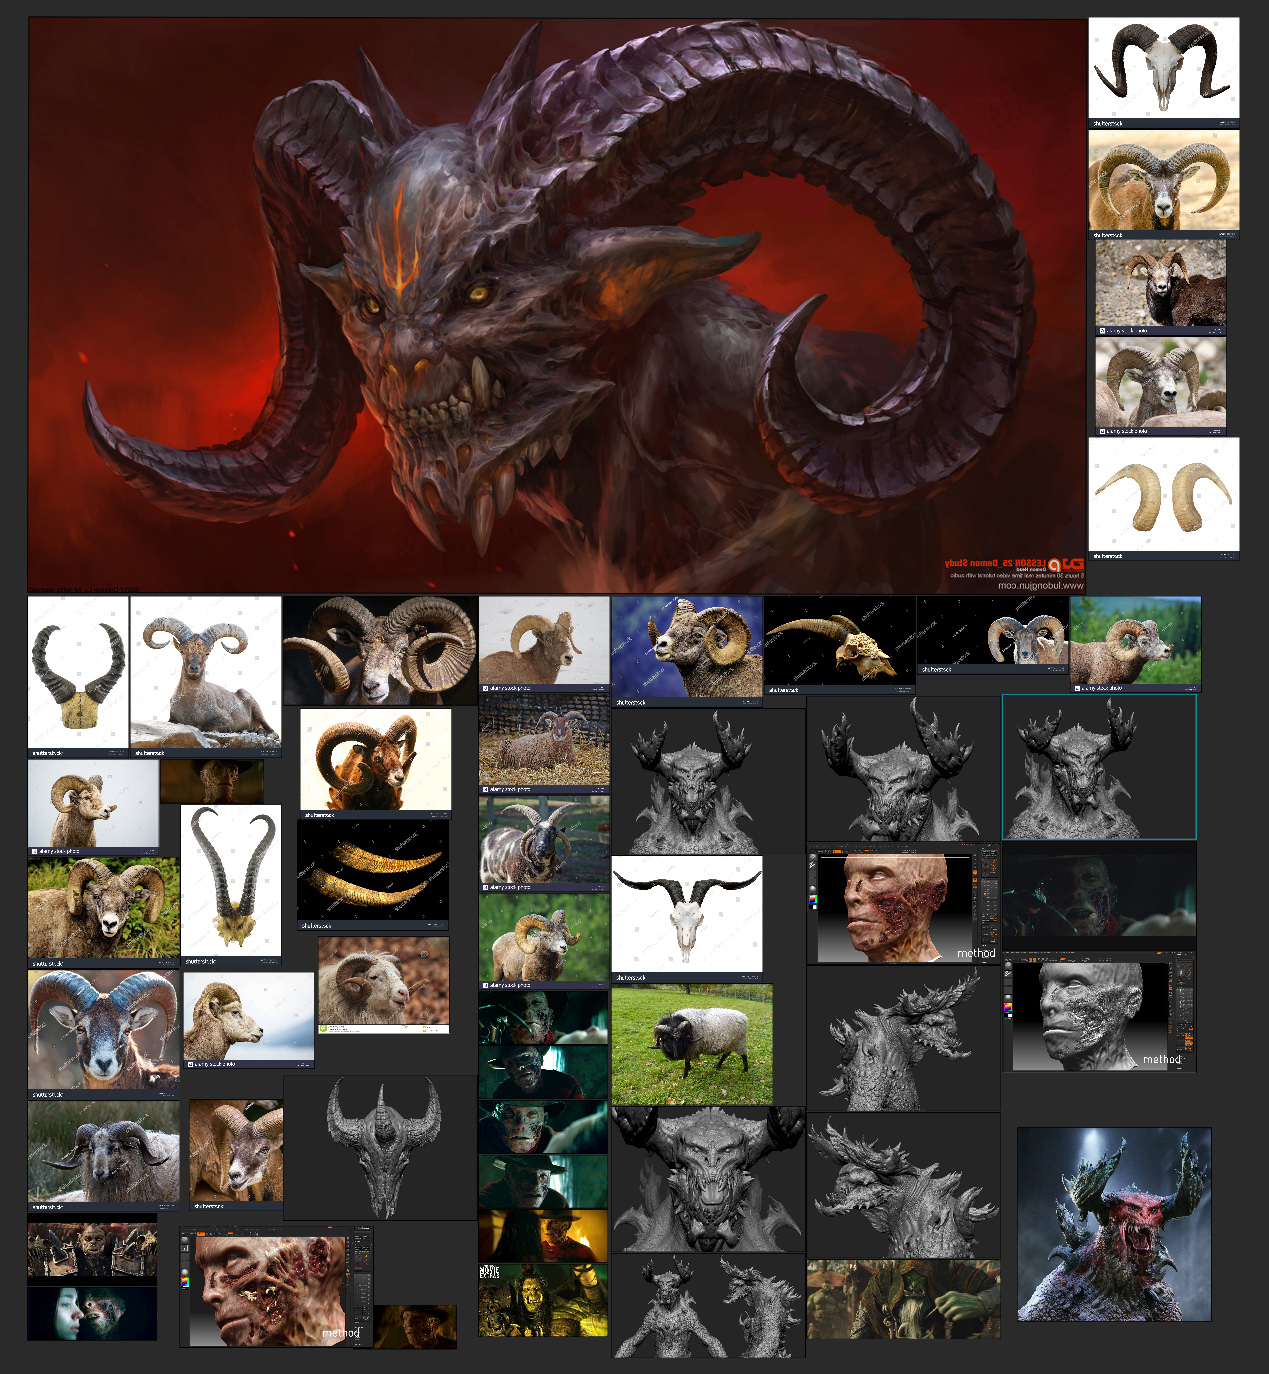
Based on the concept by the amazing Dongjun Lu, I did research on the Internet to find new cool ideas to enhance the final piece. In this case, I mainly looked for demons, goats, and creatures in general with horns to comprehend their different topologies and shapes. I also looked for skin burns and scar images, since I wanted to give him a raw skin feel, like he has just risen from a burning hell. To keep all these references well organized in the same place, PureRef came in handy, a simple and easy-to-use piece of software that has become a permanent member of my army.
Block out
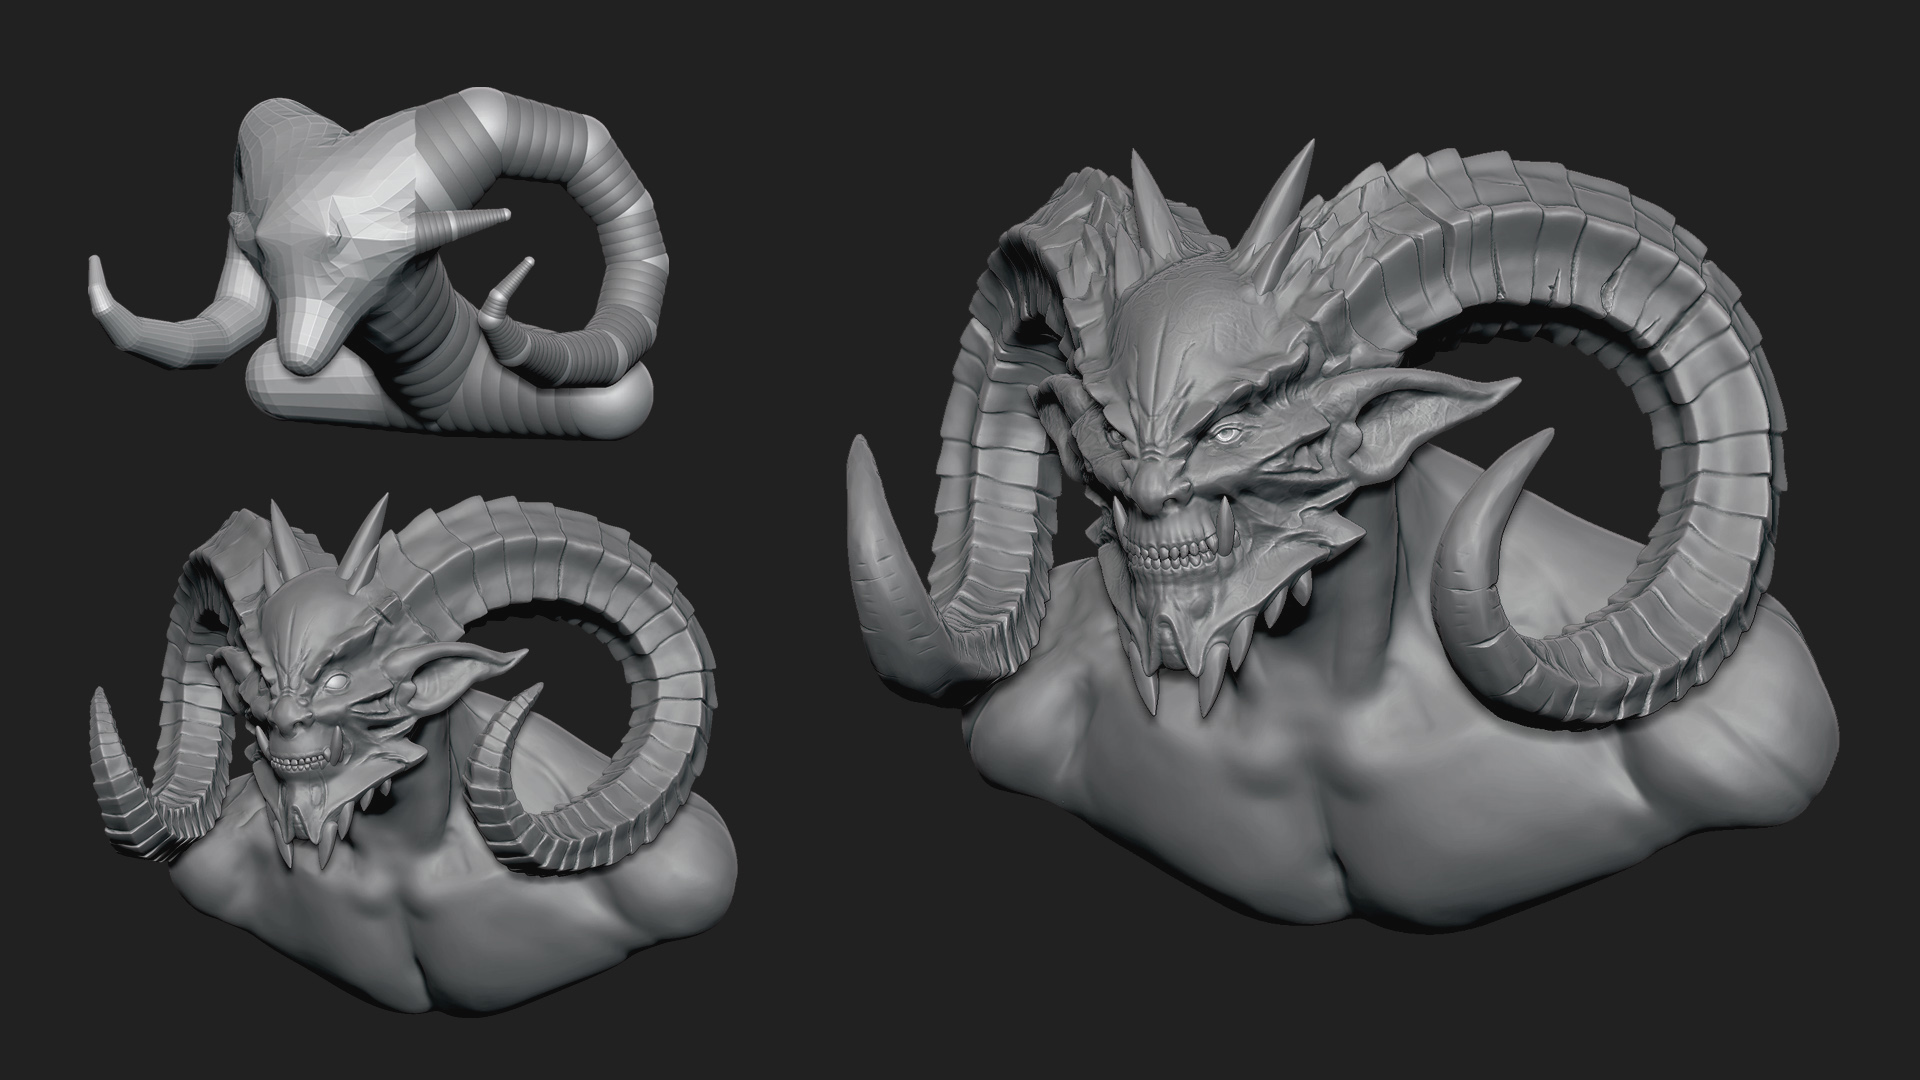
Once I had a big wall full of references, I started to block out the general structure of the head and shoulders of the demon with Zspheres and Dynamesh. Throughout this step, I explored general ideas for shapes and volumes without getting into the details, just the overall silhouette. I decided to use Zspheres instead of a low poly mesh or a sphere as a starting point, because this tool allows me to change the arch of the horns in a faster manner than a single mesh.
Modeling
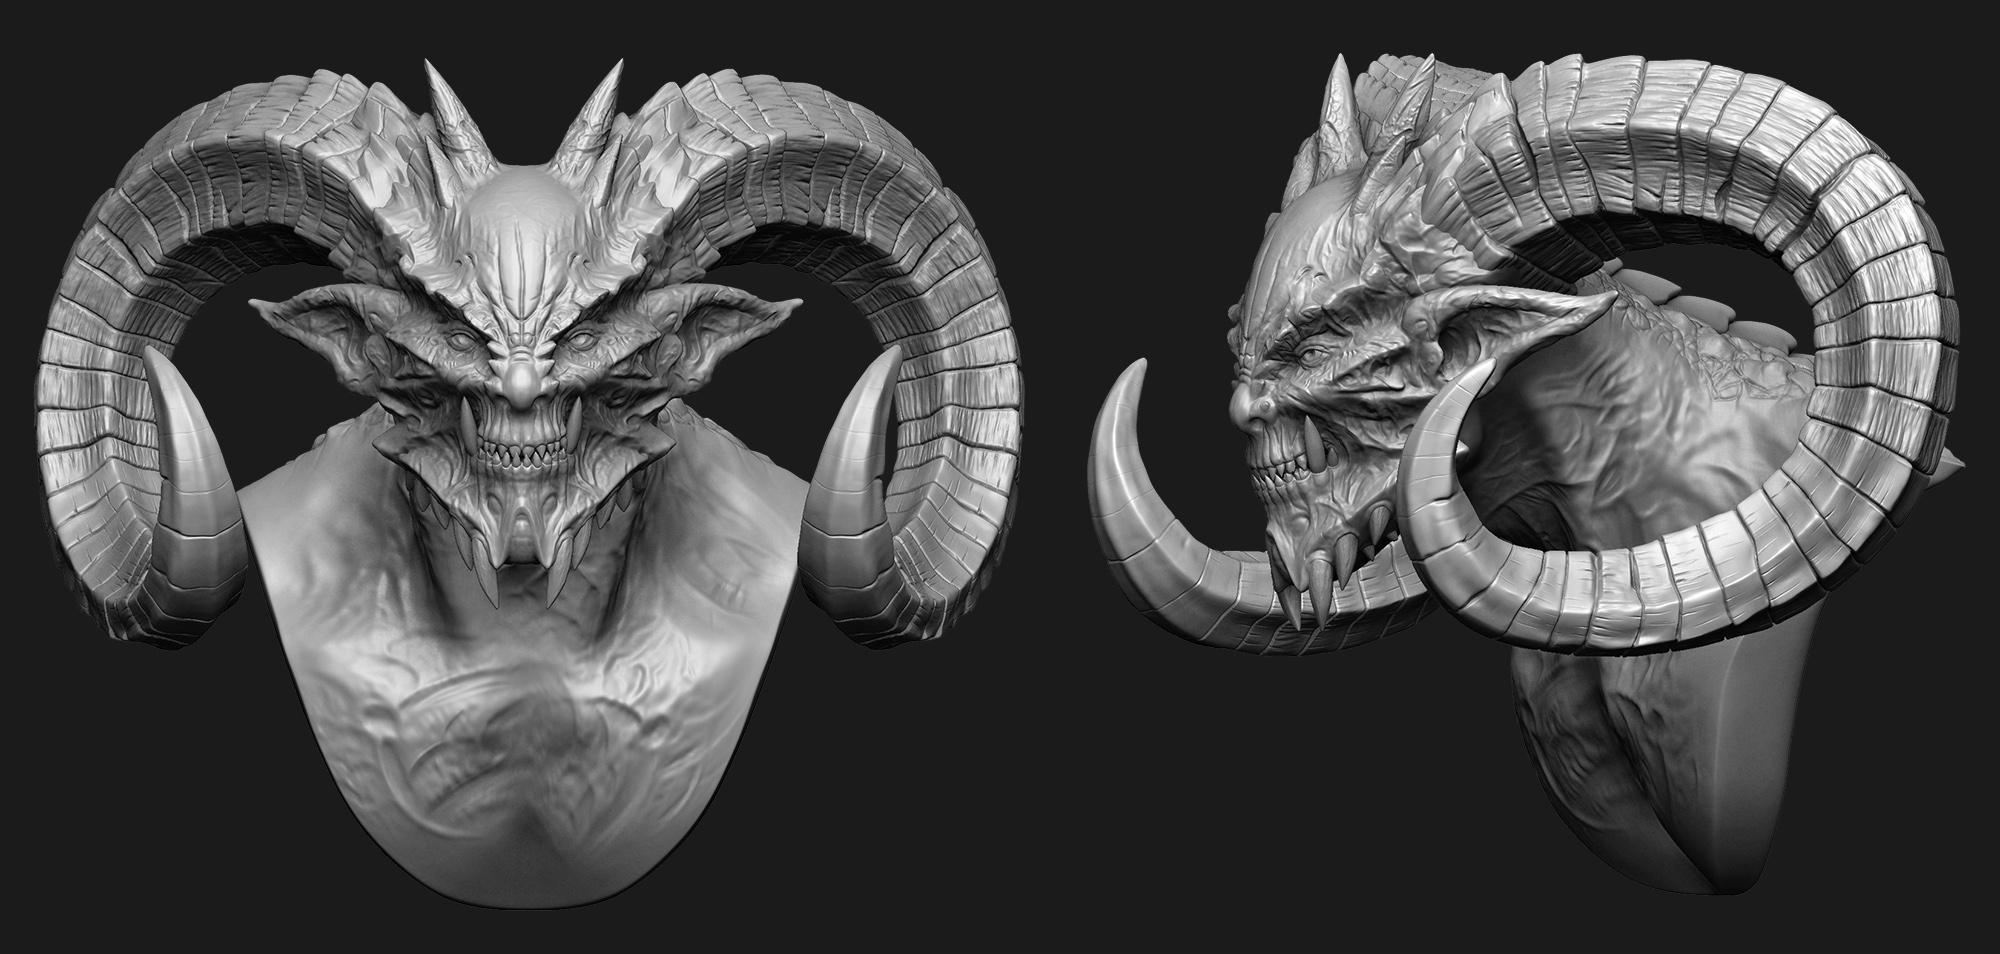
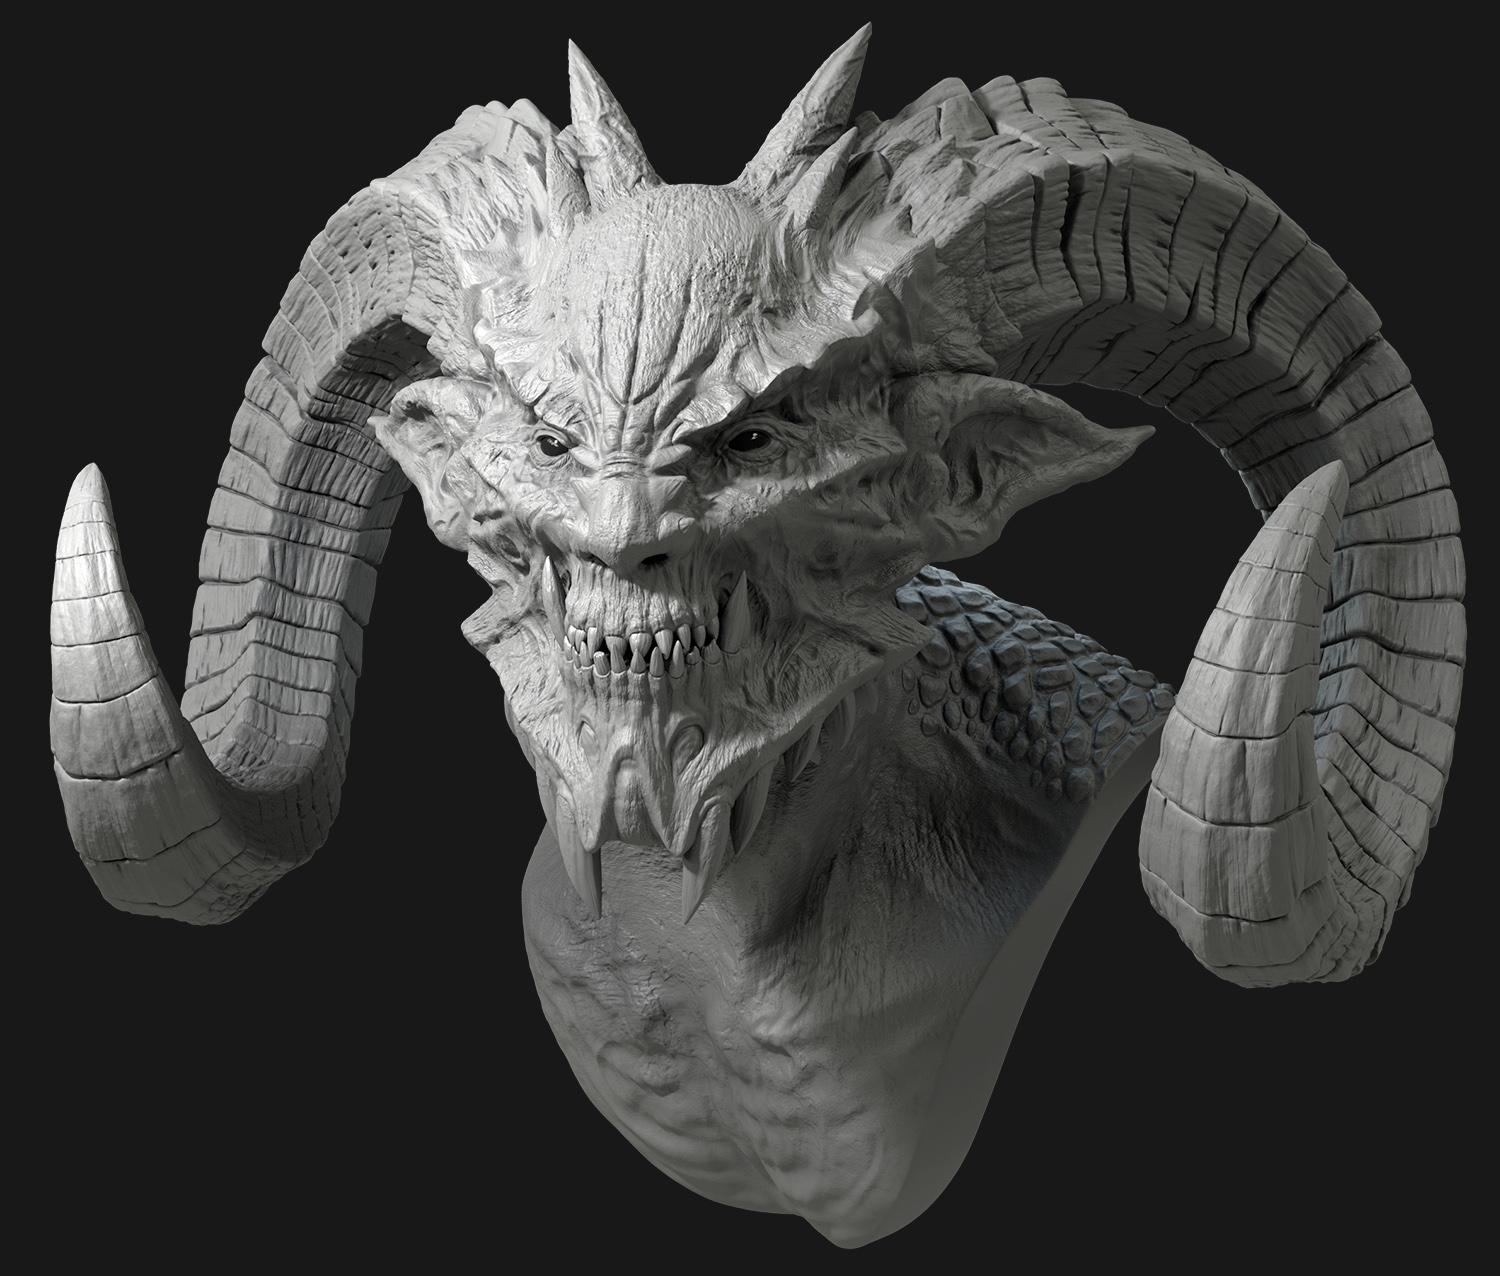
When I considered that I was happy with the block-out I began with the actual modeling to take the piece to the next level of detail, what we can consider secondary shapes. I decided to cut off the shoulders of the bust to improve the readability of the horns and get a nicer silhouette. I also focused on getting a nice expression of the character. The burnt skin was one of the main challenges of this bust as well as the horns. During this stage I started to add asymmetrical touches to get a more natural feel to the creature.
Retopo and UVs
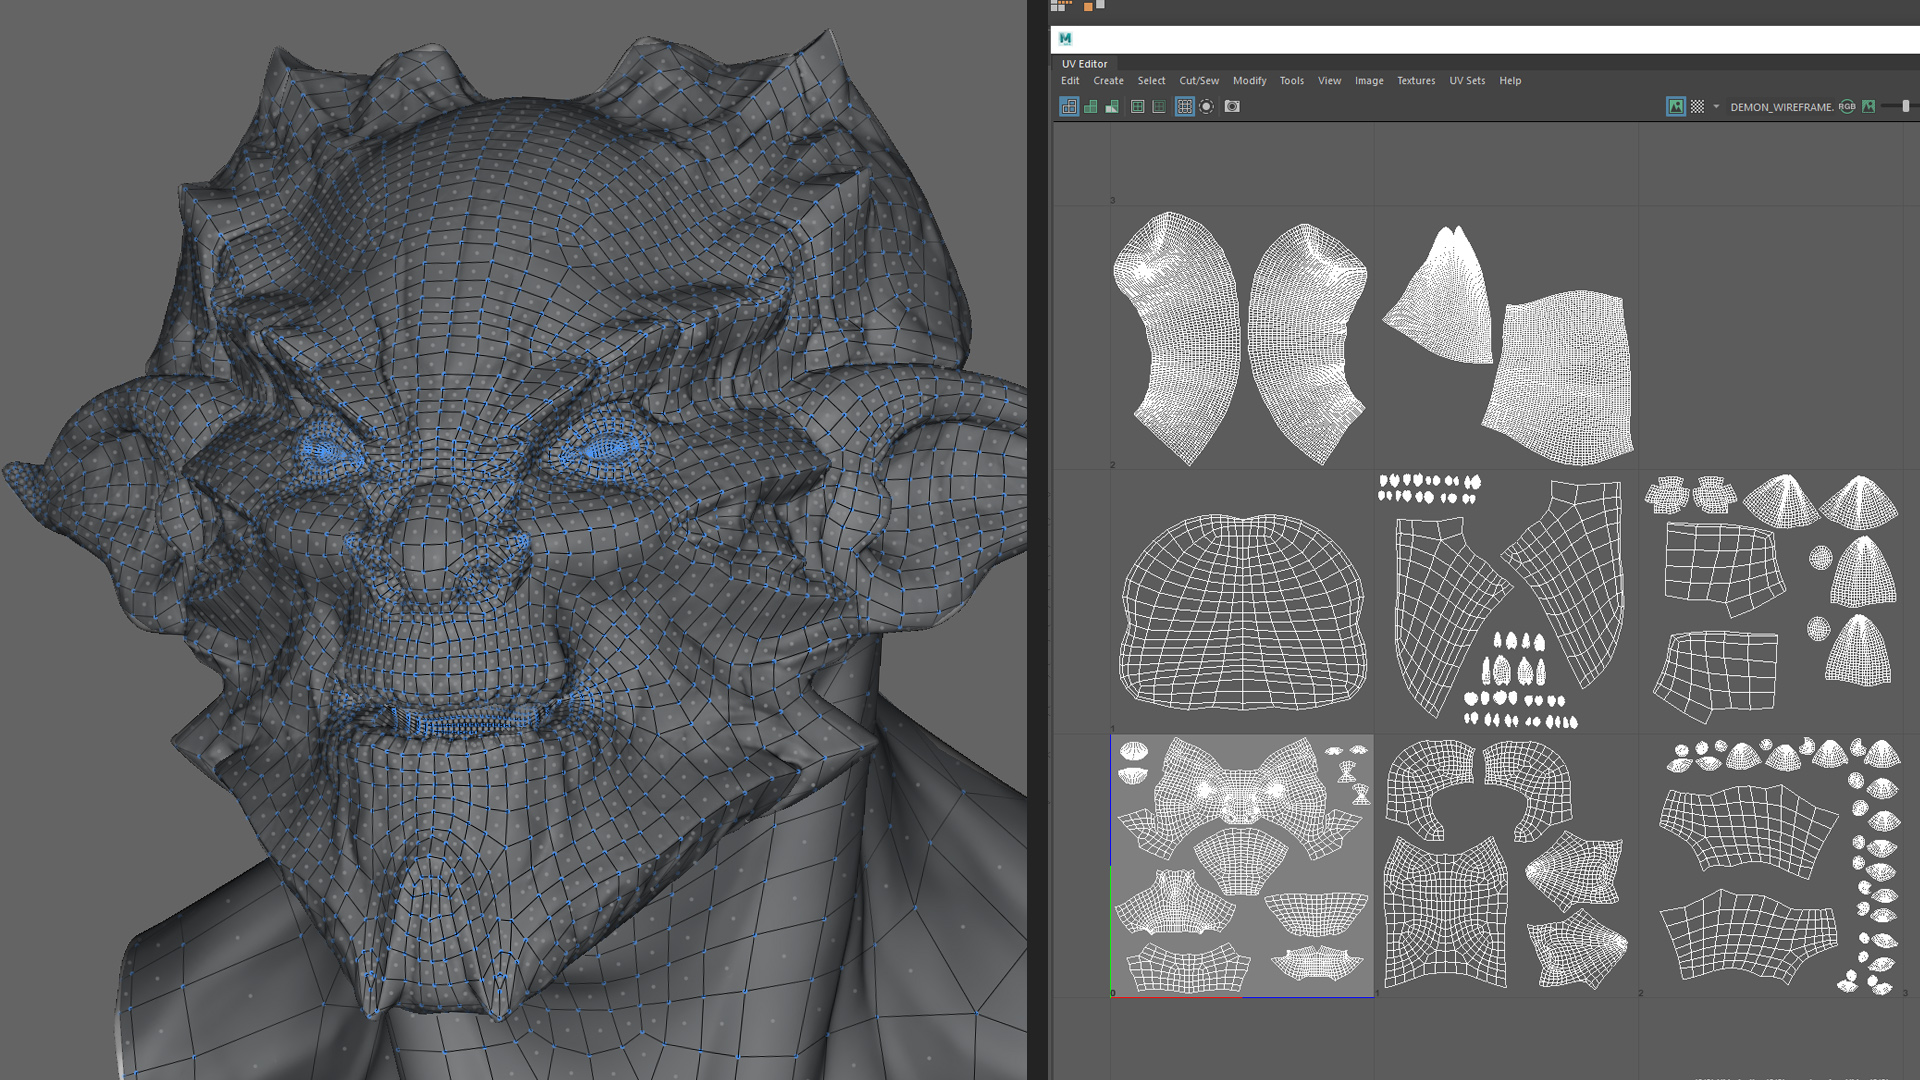
I exported the different pieces of the creature in OBJ to Topogun to start the retopo. Sometimes, I also use the QuadDraw tool in Maya; it depends on the complexity of the mesh. Once I was done with it I jumped back to Maya to make the UVs. In this case, I went for the UDIM layout system to work with Mari. Right at the end, I did a pass in UVLayout to reduce the distortions, since the version of Maya I was using didn’t have a strong relaxing tool at that time.
Reprojection – Detailing pass
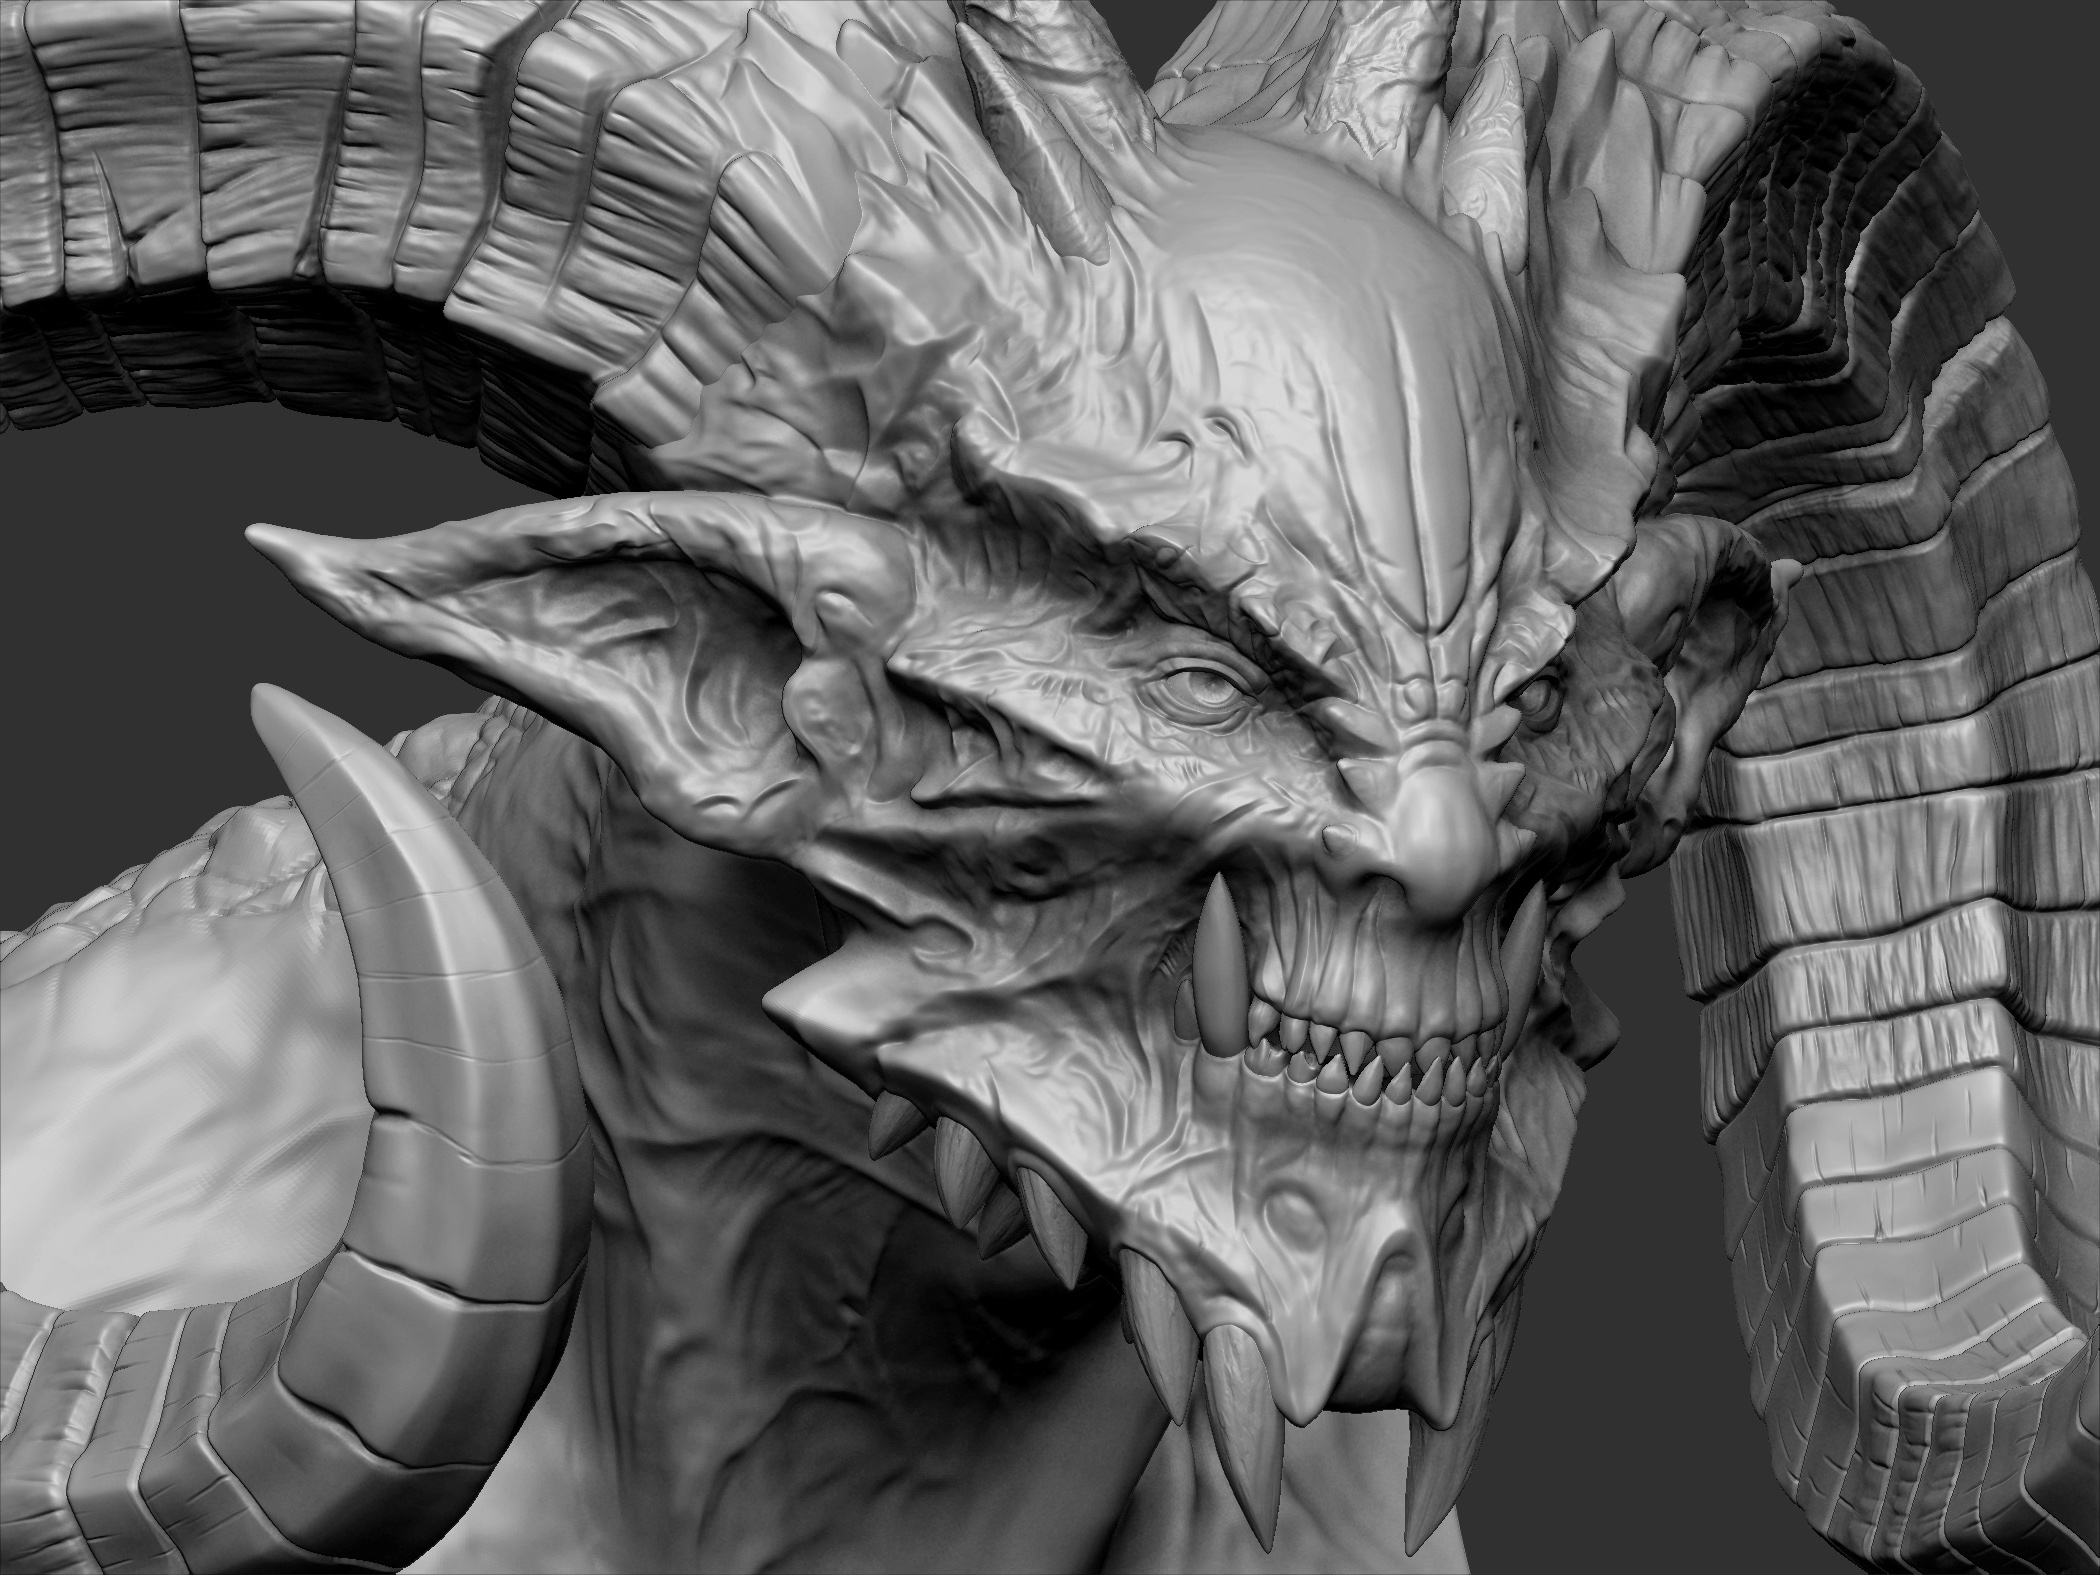
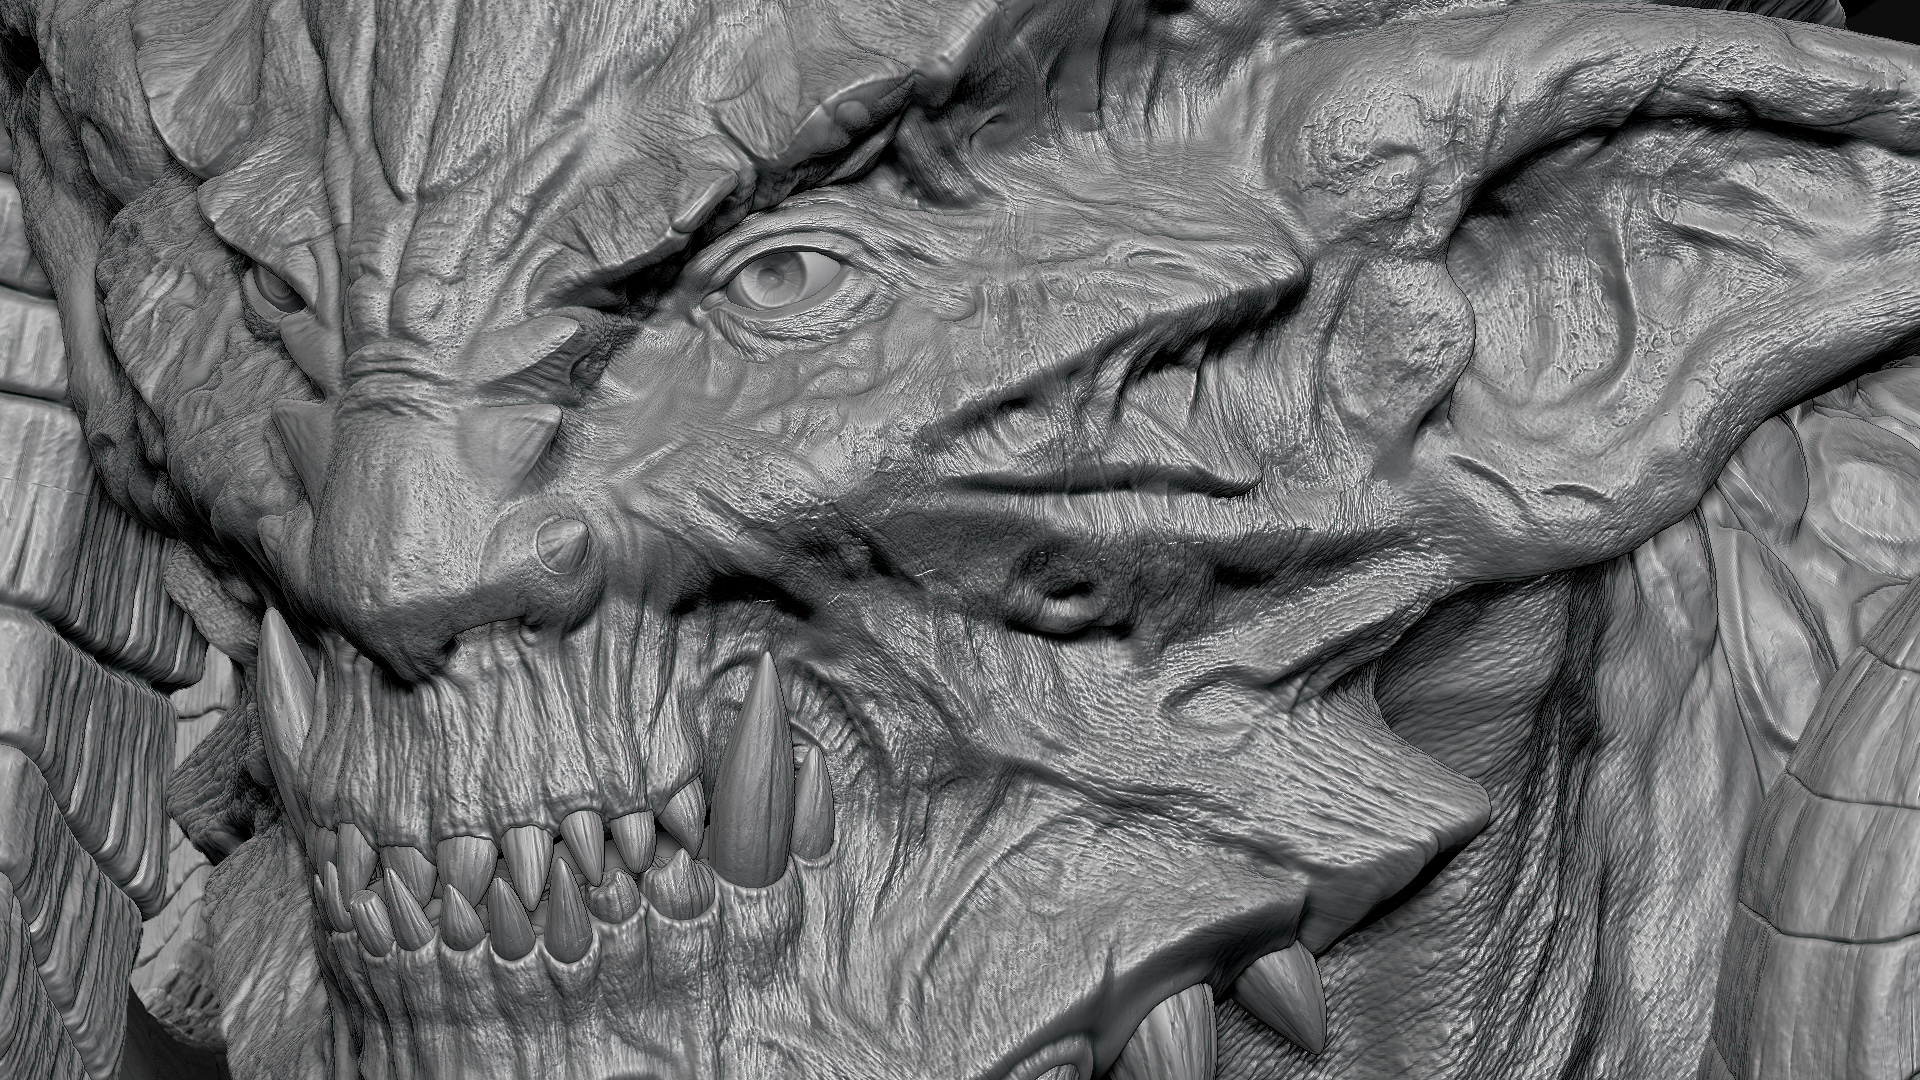
After finishing the UVs, I imported the model back to ZBrush, and using the Projection tool I transferred all the detail from the Dynamesh model to the new mesh with UVs. Once I was done with the projection I began the fine detailing pass. I didn’t make big changes to the bust throughout this stage, I just used different alphas with the standard brush to add micro skin details, like pores and wrinkles. As I mentioned in the introduction, I wanted to test the potential of the Geometry HD feature and it was during this stage, when I took advantage of it, to reach a new extra level of detail (around 90 millions) and achieve a more realistic look.
Displacement and cavity maps
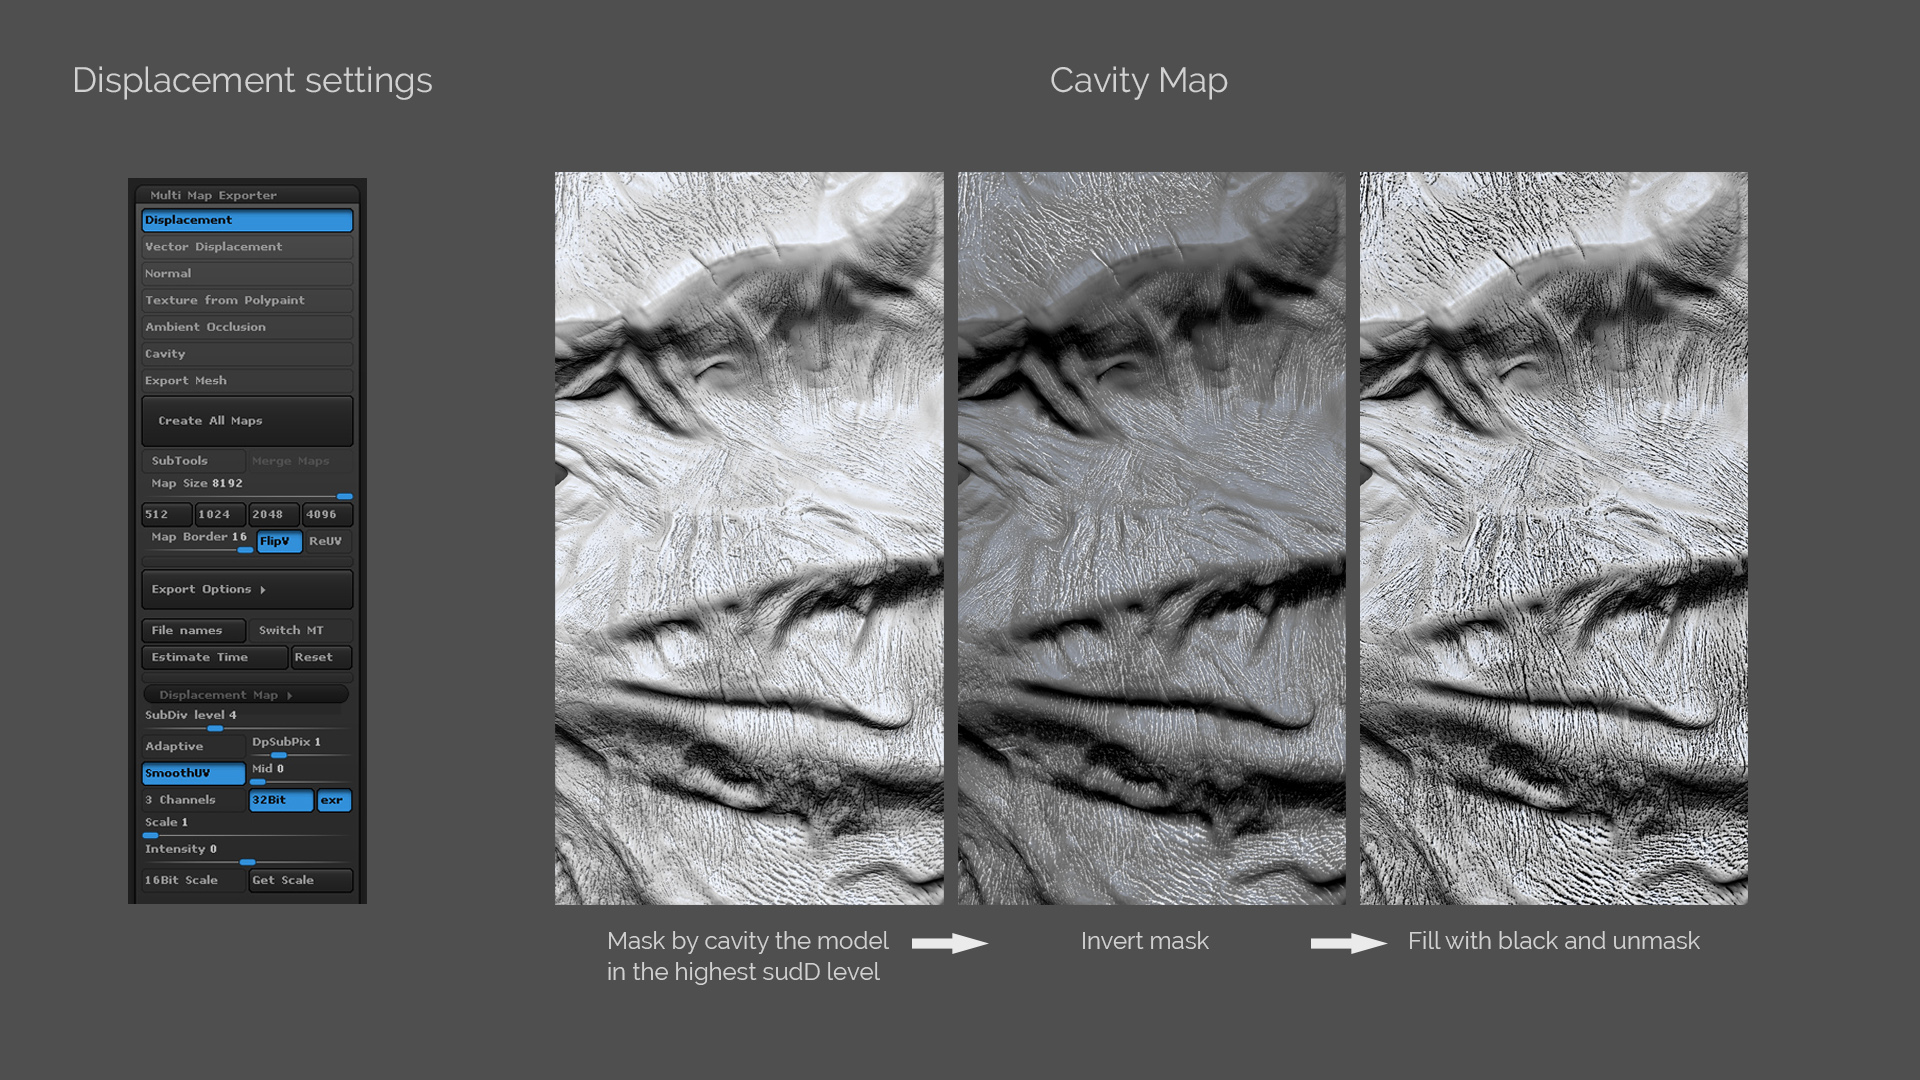
To bake the displacement maps in ZBrush I use the EXR 32-bits option (see the image) that simplifies the configuration in Maya afterwards. It is during this bake when the extra detailed contained in the Geometry HD becomes visible in the map. I also created the cavity maps in ZBrush by polypainting the geometry in white, and I filled the concavities with black using MaskbyCavity. To export all these maps out I used the Multi Map Exporter plugin.
Texturing
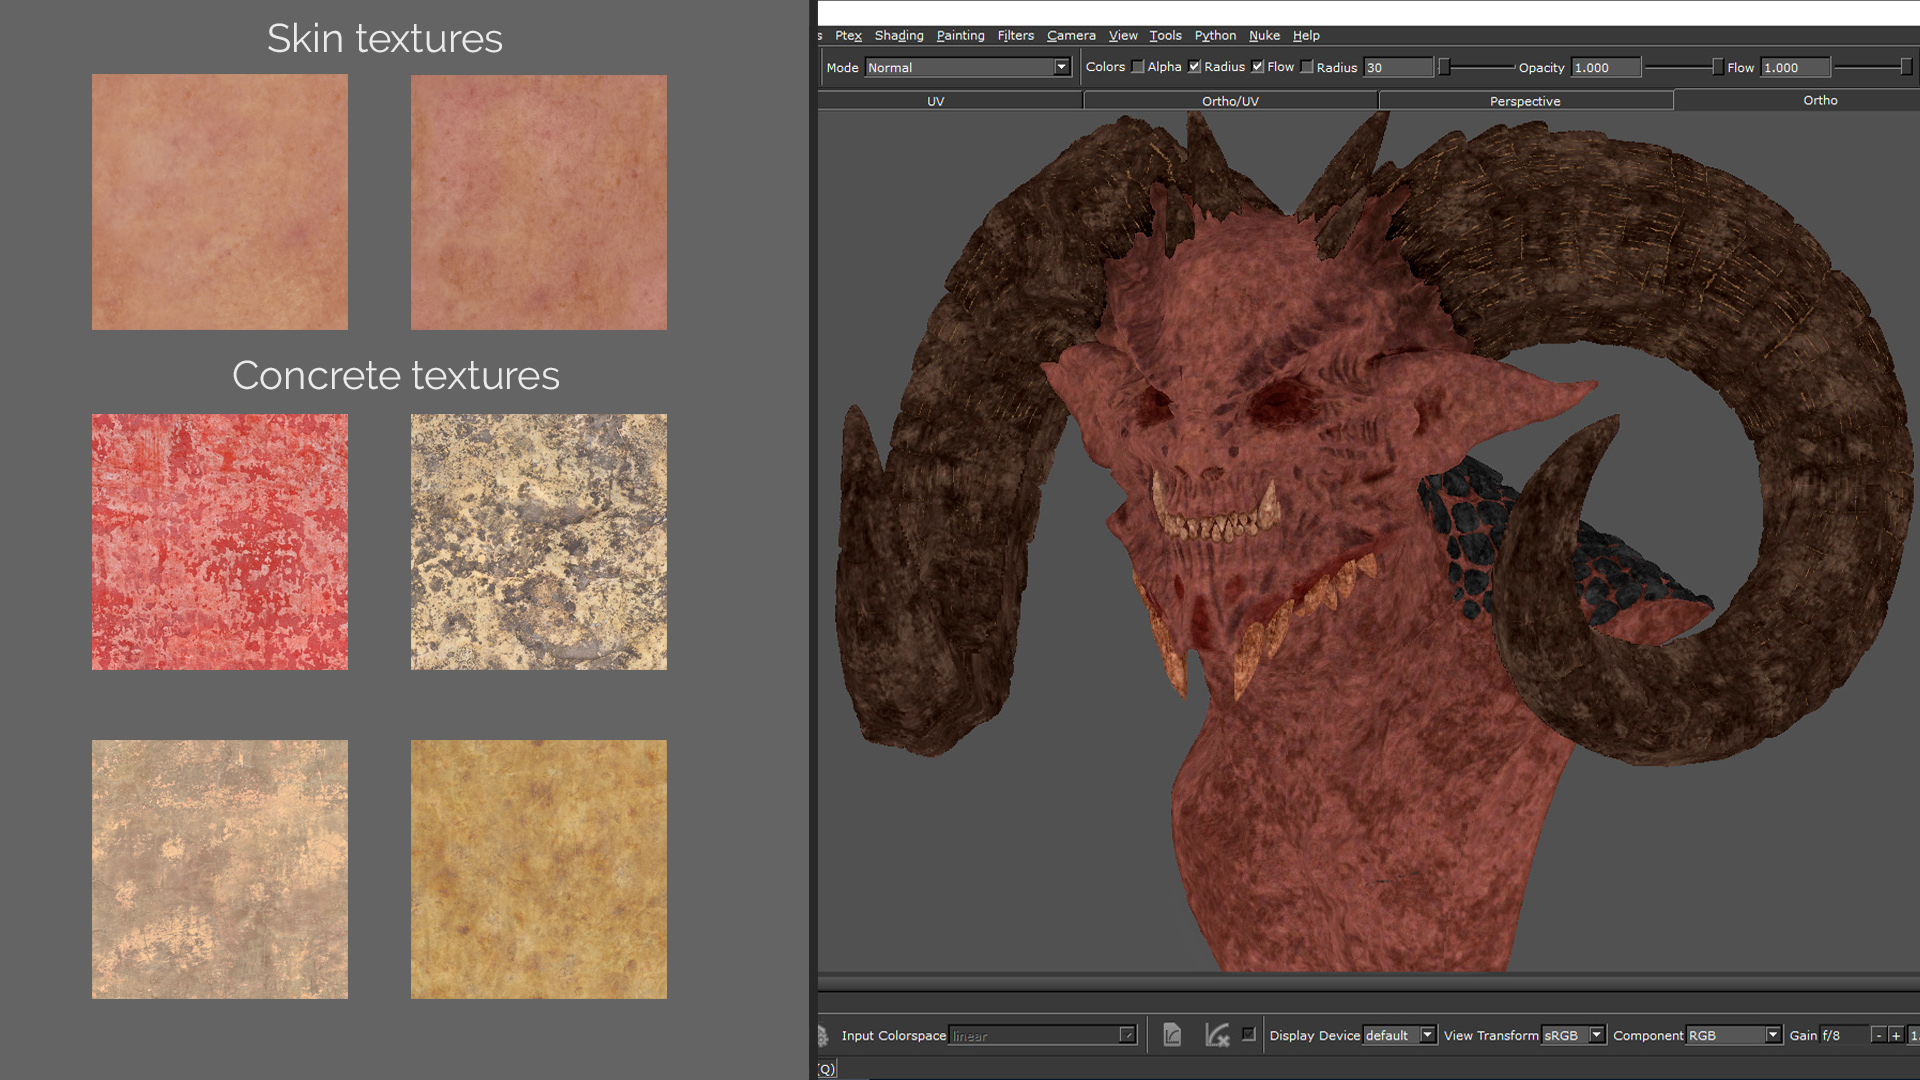
Mari was the tool I used for all the texturing process. Before starting, I like to gather some tiling textures that will add some nuances to the skin and horns. I use skin textures as a base but also some concrete, metals, to add these variations, since they work out perfectly fine as masks or in combination with other textures. The way I manage all these textures is, in most cases, with the procedural node Tile and combining them with masks. These masks can be hand-painted or also driven but a tile node.
Lookdev and render
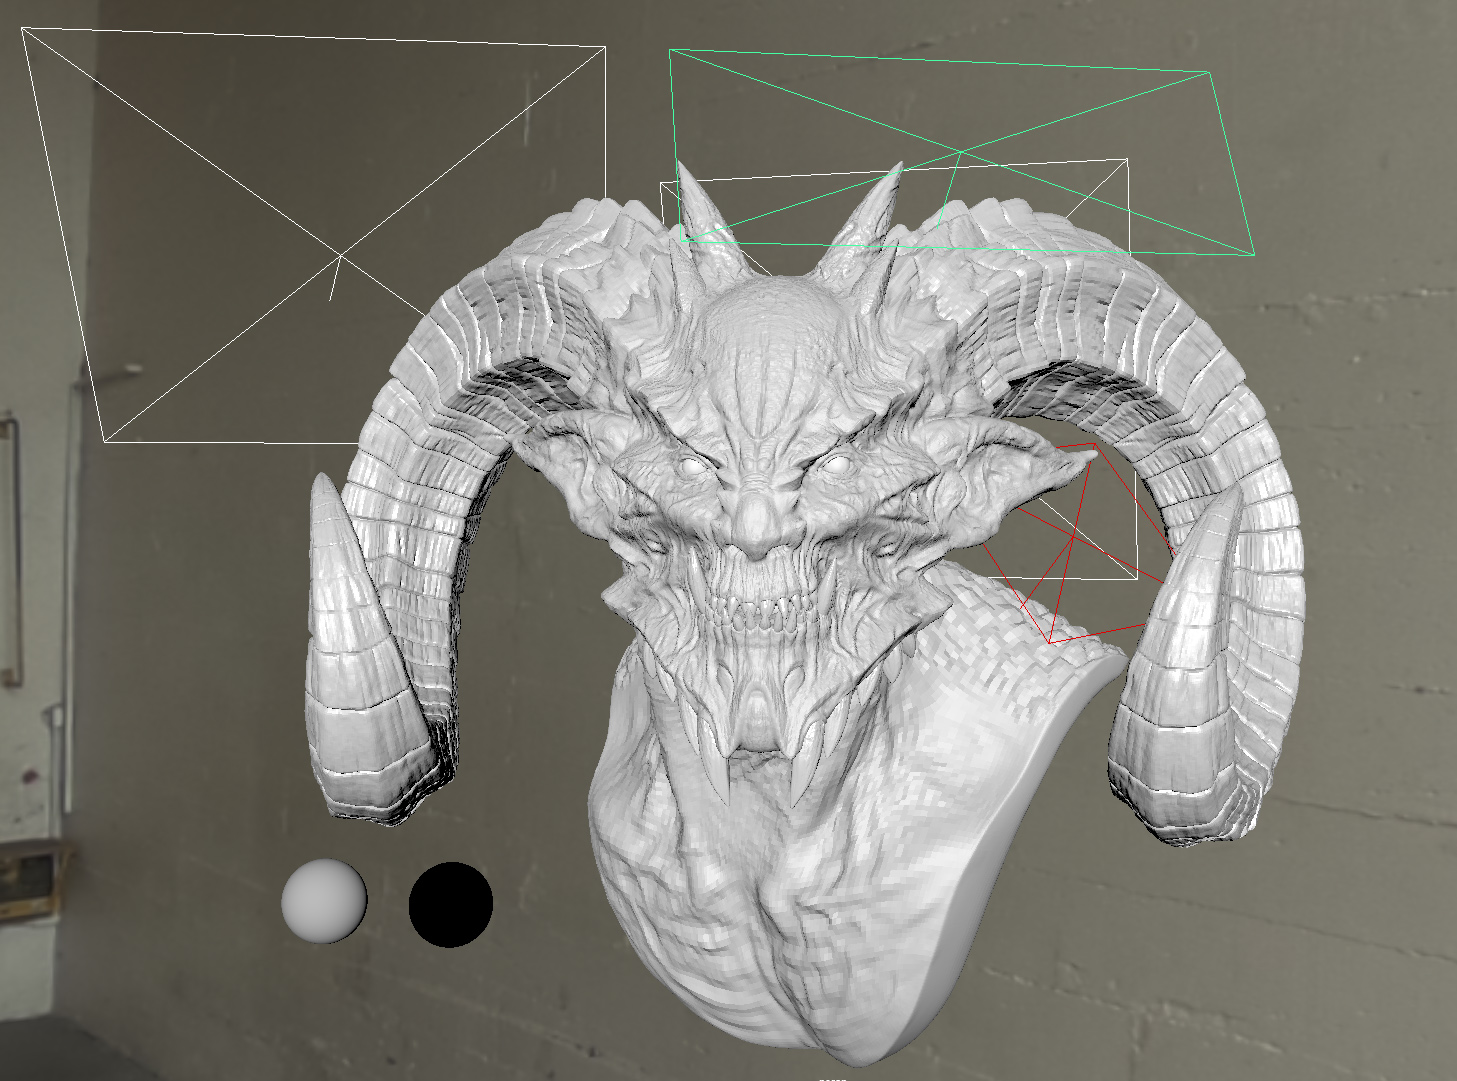
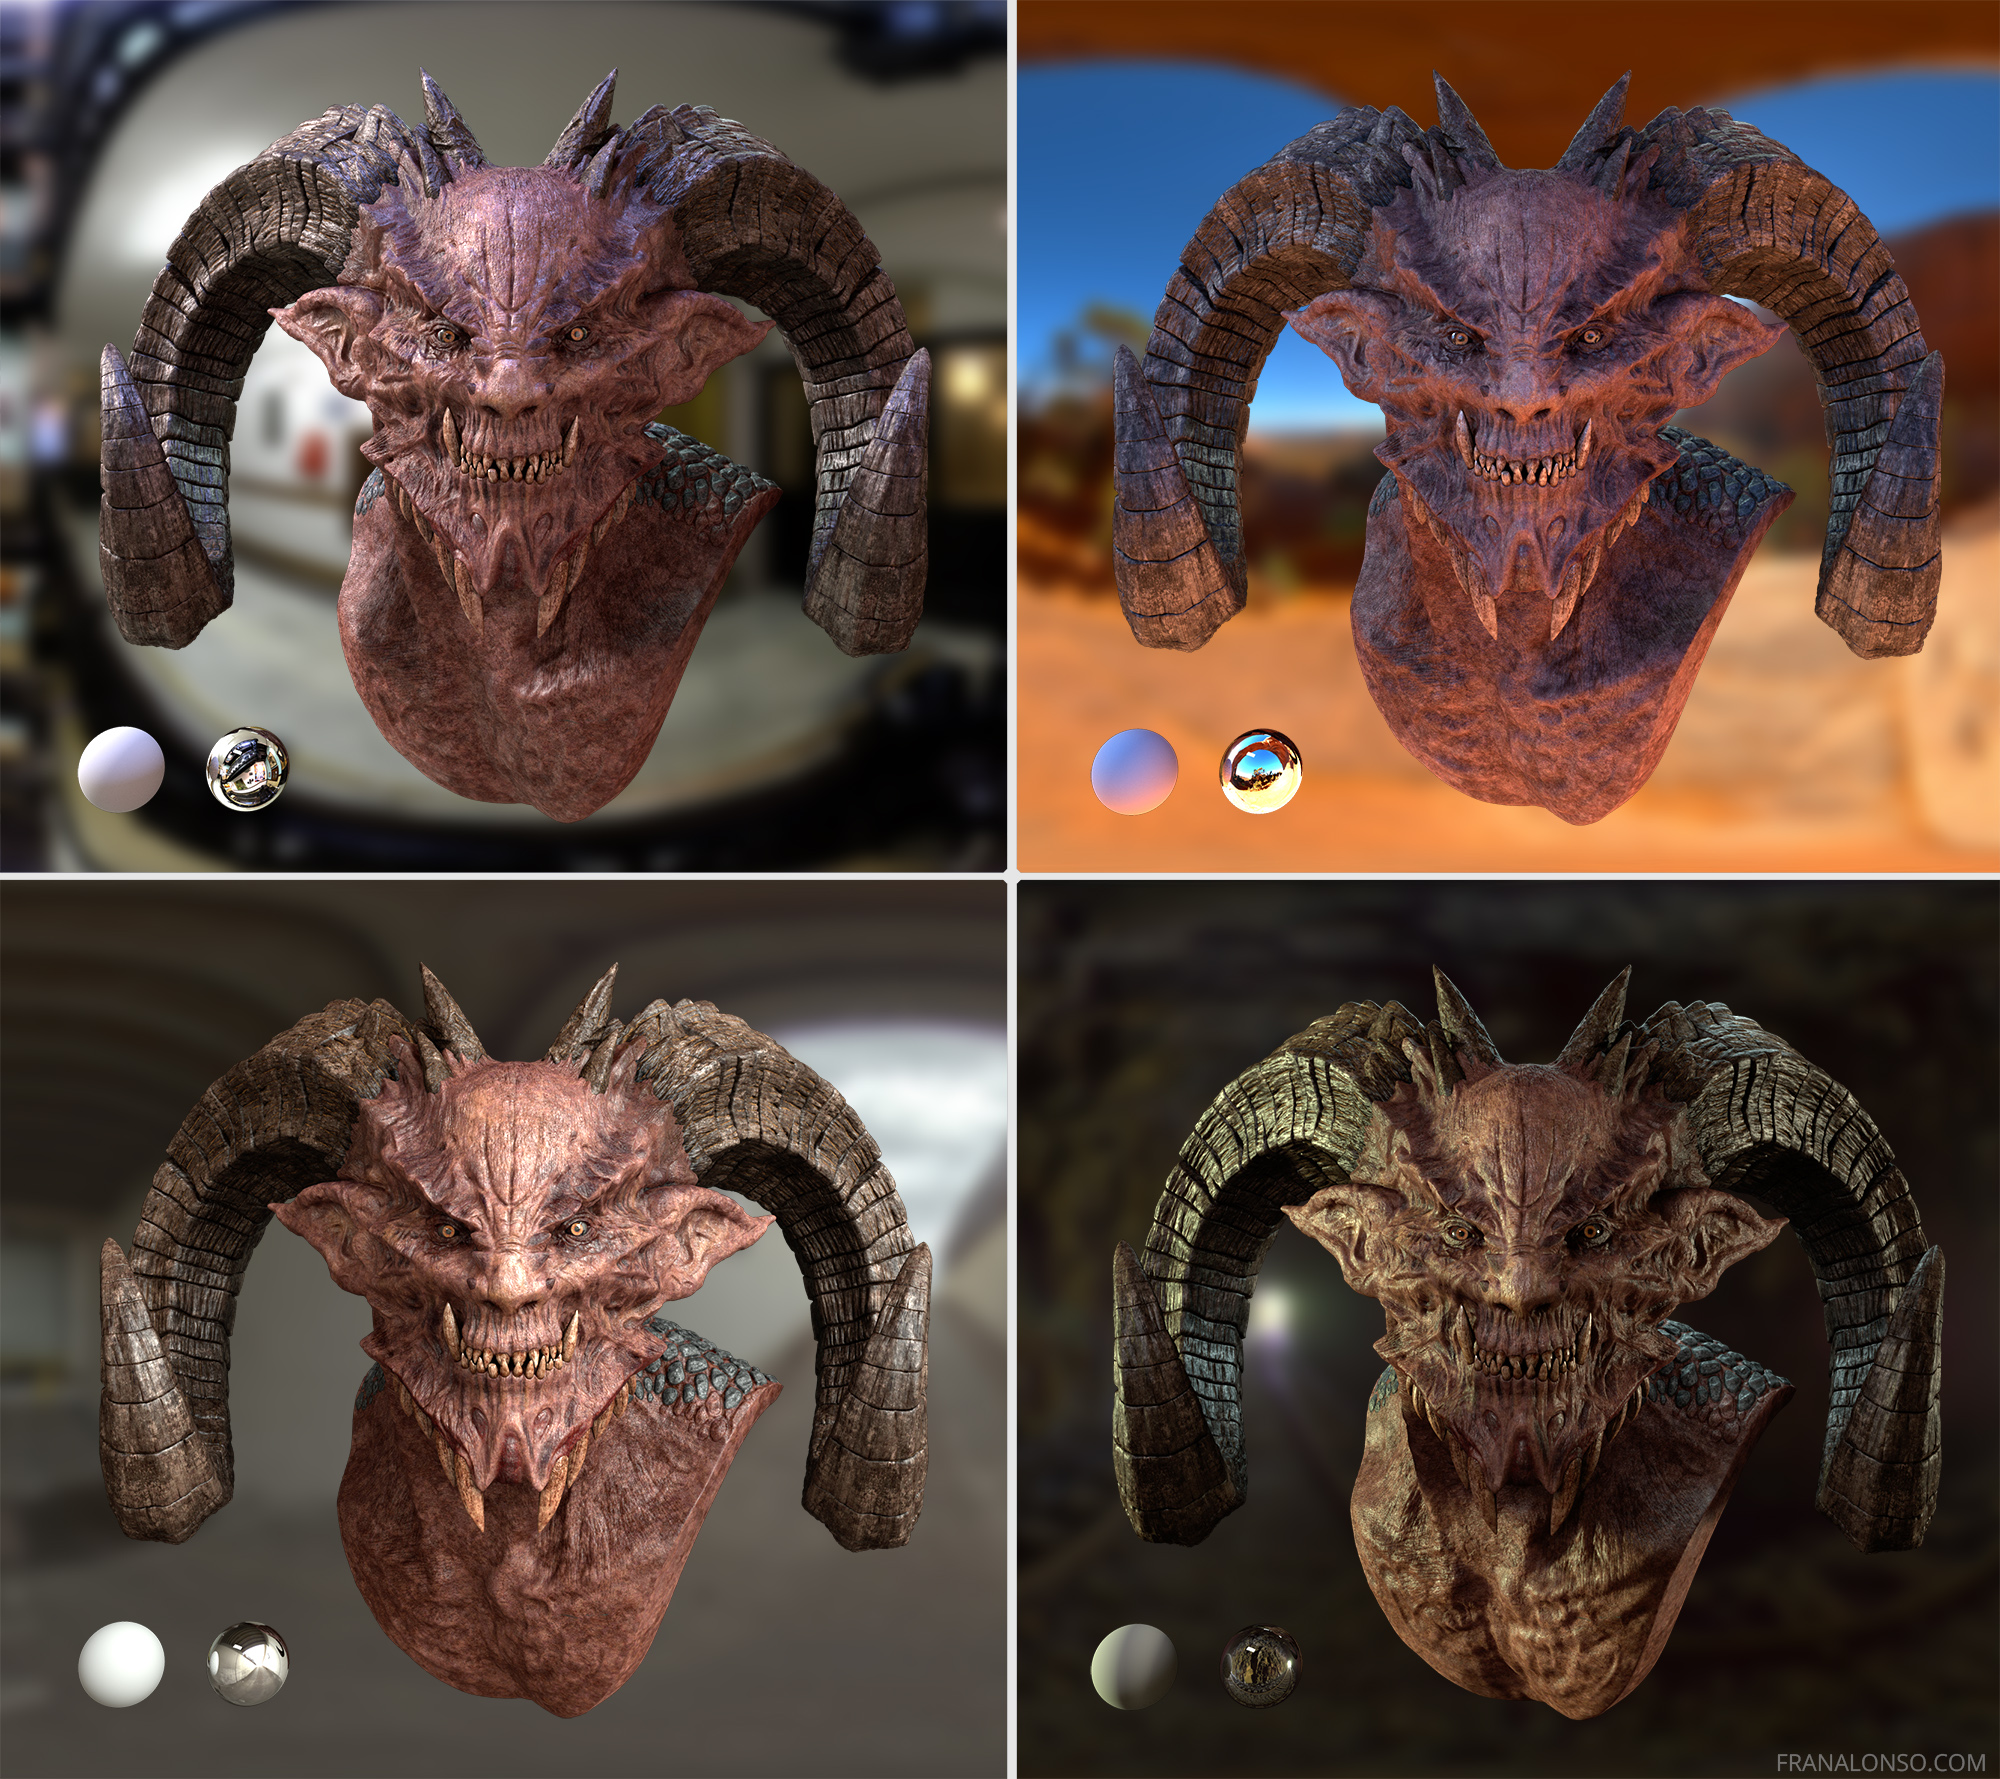
Maya and Arnold was the toolset I chose for lookdev and rendering this demon bust. Most of the elements were using the aiStandard material with the SSS turned on. It is a fast shader with amazing outcomes. The light rig was the classic 3 lights; one as the main sun light, two rim/fill lights, and one skydome as the environment light with HDRI plugged in.

